
Level up your video conferences — create a home studio

The number of daily users on video conferencing platform Zoom has increased by a whopping 340% since December 2019. To many people, the idea of video conferencing may sound simple — you just have to turn on your laptop and use your earphones and inbuilt webcam, right?
Well, it’s a bit more complicated than that. From lighting, to microphones, and even to your background, there are many things to consider when setting up your workspace.
Whether you’re preparing to give an important presentation to your boss, or trying to close a deal with clients, here are some tips to help you put your best foot forward — even through a camera.
For Simon Kemp, CEA of Kepois, a convenient and compact home studio was key. According to him, his previous set up took up too much space, took too long to set up, and took too long to clean.
“None of the studio setup should take away from the content,” he explained.
After months of scouring the web for recommendations and guides on equipment and setting up, Simon turned to us for assistance, and got in touch with our Digital Content Director Erik Magelssen.
Lighting
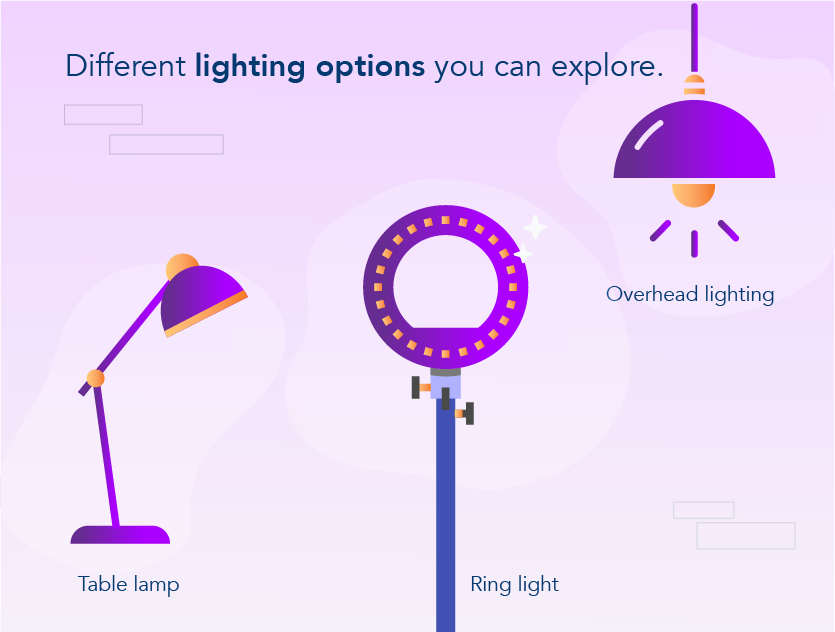
A good lighting setup really makes a difference when it comes to looking professional during a video conference call. This means that you need to put some thought into choosing the right kind of lighting equipment, and carefully think about positioning the light sources.
When it comes to deciding on the right lights, it’s best to get one that is bright enough and has colour temperature control. Another aspect to consider is the equipment’s capacity for modification — lighting setups that can be modified to suit your needs is a great plus.
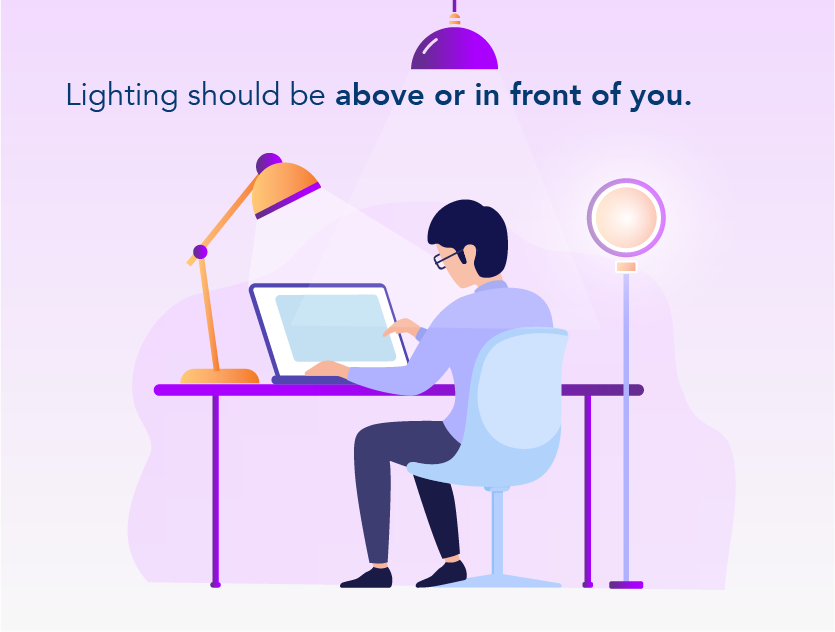
As for the positioning of the light sources, they should never be directly behind you. Instead, they should be placed above or behind the camera and facing you.
Some studios also use a two-point lighting set-up, in which two light sources sit behind the camera and are angled towards the subject. This technique makes for a more even application of light, and also creates depth by making the subject stand out from the background.
Simon had been looking for a setup suited for both desk-based ‘talking-head’ presentations and standing presentations — which he does everyday. However, the space limitations at his workspace meant that he could only use desk mounts for his lights if he wanted to stick to the plan.
In light of this, Erik recommended the Elgato Key Light — a pole-mounted light source that clamps to your desk. “It’s very slim for your desktop, and you can control the colour temperature easily,” he says. “With a high-end camera, the lights should be more than bright enough.” However, this is definitely a premium option that can set you back by at least USD200.
If you’re operating on a tighter budget, Erik also approves of the Aputure and BOLING lights, which are overall strong lights and are cheaper options that range from USD90 to USD150.
Camera
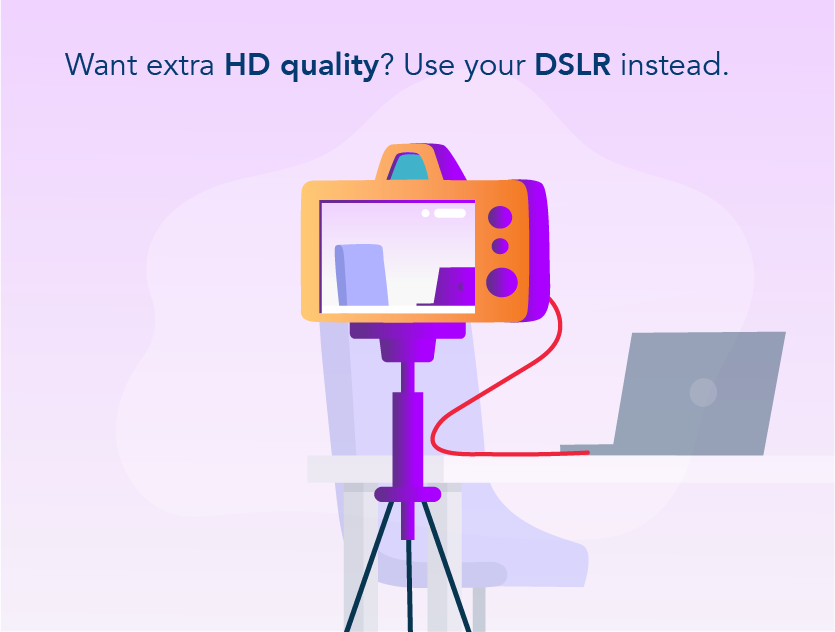
Lighting and cameras go hand in hand — there’s no point in investing in a great lighting setup if you have low quality footage.
The laptop’s inbuilt webcam is frequently the go-to for those who are new to video conferencing. But these are often of a lower quality. Many webcams record at 720p which is not full HD and don’t offer a lot of image processing. For higher quality, and without blowing your budget, you can try using an external USB webcam. These are usually small and portable, and can be hooked onto the top of your screen. The front-facing camera on your phone is a good solution as the cameras on late models are full HD and the phone will process the image to make it look as good as your Instagram selfies.
If you’re willing to spend more for crystal-clear quality, you can consider using a DSLR camera as a webcam. This, however, means there are many more aspects that you need to take into consideration when choosing a camera. The focal length of the lens, the aperture, the depth of field — these are all important things to consider when setting up not just the lights, but all aspects of the studio.
For Simon, his original plans for his home studio included a Sony a6400 with a Sigma 16mm lens. Erik, however, recommends prime lenses, which are optimised to a specific focal length or purpose. These lenses are the sharpest and usually let in the most light.
“Lenses with a focal length between 24 to 70mm makes the face look pleasing and gives depth to your subject’s frame,” he says. For Simon’s setup in particular, Erik suggests using a maximum focal length of 35mm to make sure that the background can still be seen.
Be warned though, it might take a bit of expertise and possibly extra kit – like the Blackmagic ATEM Mini – to set up the camera as a video source for your computer.
Background
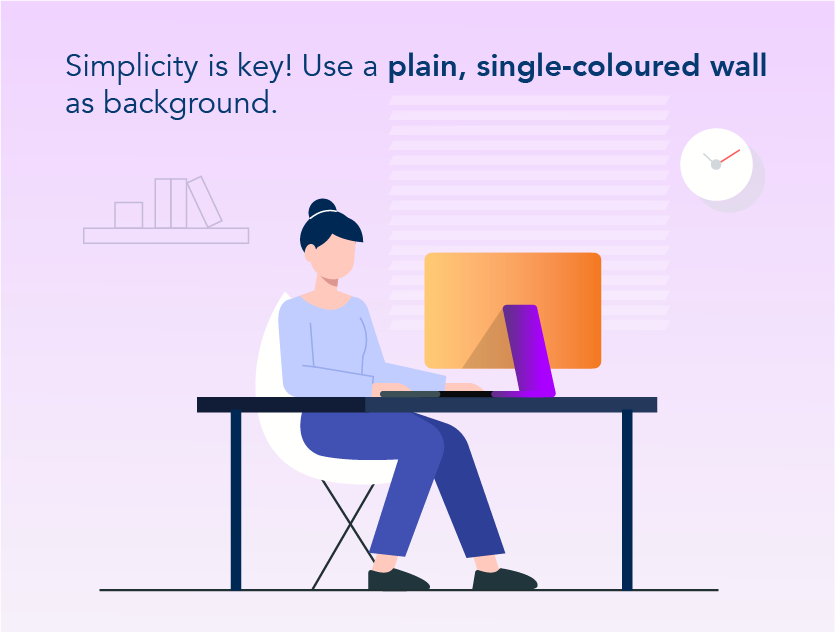
Simplicity is key! A plain, single-coloured wall would be ideal for a background. The less detail or clutter there is in the background, the less distracting it will be — especially when you are being viewed on someone’s computer screen. If you want to show off a little personality, however, a neat home office with simple décor will do as well.
For Simon, a tidy room with a black bookshelf is his background of choice. The bookshelf works for everyday videos, but on occasion, his green screen does make an appearance.
A green screen is great for those who do not have a dedicated home office, or for those who just want to hide their clutter.
A wide variety of green screens can be easily purchased online. From collapsible and portable green screen kits to DIY ones, there are many different options to suit your needs and budget.
While it might sound daunting to set up and use a green screen, many video conferencing platforms like Zoom already have built-in green screen features, which makes it hassle-free!
So hassle-free, in fact, that people have been using all kinds of backgrounds to crack some smiles out of their fellow call participants.
Audio
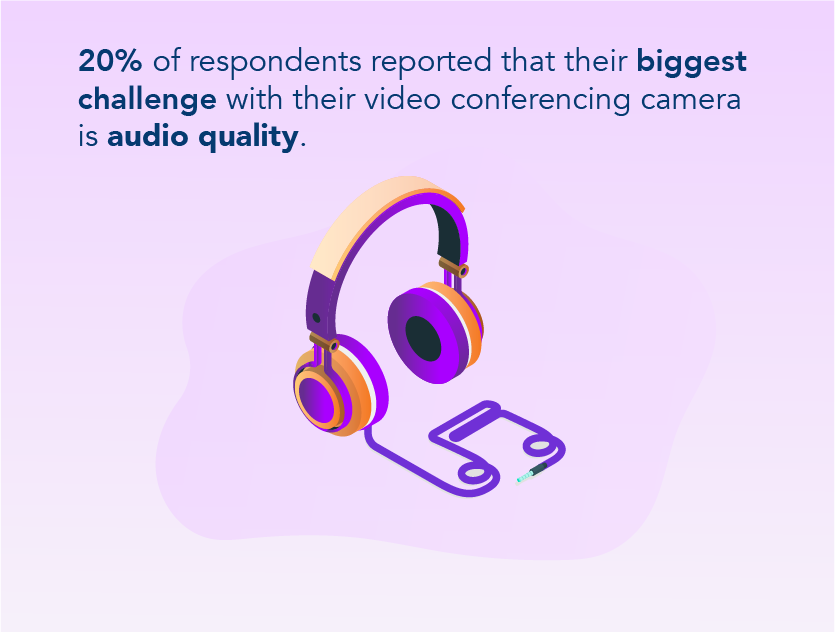
Having decent quality audio devices is a must. After all, video conferences are all about being heard and listening to others. Many people simply use the default inbuilt audio input devices from their laptops or via earphones, and while these are certainly functional, the audio quality leaves much to be desired.
So why not invest in some quality microphones for your home studio?
If you’re already comfortable with using headphones, consider getting your hands on a headset with microphone. A great two-in-one option, many headset microphones also have noise-cancelling properties, which will help remove most background sounds when you’re talking.
If you don’t mind investing in a separate piece of equipment in exchange for better sound quality, look into desktop microphones. These range in size and weight, so you can choose the microphone that fits best into your workspace.
For example, a Blue Yeti USB Microphone is a must for many people who are looking for relatively good sound quality. Plus, it’s small enough to fit nicely onto your desktop, which makes it great for those with small workspaces.
Luckily for Simon, he was already somewhat familiar with microphones and audio devices, “I was already interested in Youtube and music, and many of the Youtubers I follow were already doing equipment recommendations,” he explained.
Bandwidth and Optimisation
How can we talk about video conferences, without mentioning the problem of disconnections due to poor internet connectivity and other tech issues?
While this story of a teacher disconnecting from an online class led to some adorable interactions between the young students, having to deal with tech issues when it comes to an important business meeting probably won’t be as fun.
So to save yourself some trouble, make sure to double and triple check your devices and applications before starting a call.
For one, you should always ensure that your device meets the system requirements of the video conferencing application of choice. Usually, these requirements are listed on their webpage, and it is up to you to do the additional research.
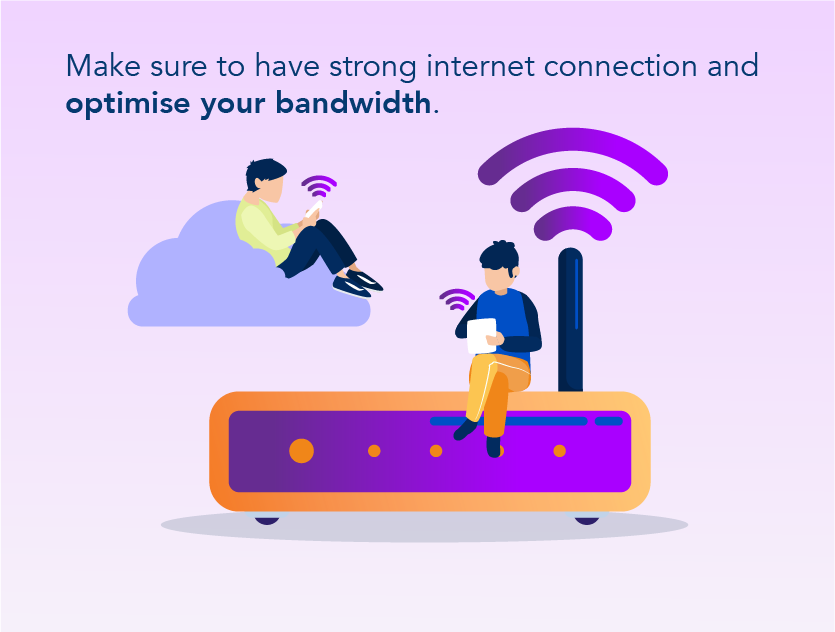
Bandwidth is another aspect that you have to consider. Different video conferencing applications have their own recommended bandwidth requirements.
It’s best to do your research on which video conference applications your network can support so that you can make an informed decision on which applications to use. Zoom, for example, optimises the bandwidth used based on the user’s network.
There are many ways to optimise your bandwidth. For example, you can locate and close any background applications that are taking up bandwidth, or you can look into upgrading your router.
After all, what’s the point in having a quality set-up with great equipment if your video call is of low quality?
At the end of the day, there are plenty of options to meet your needs and budget. There is no one-sized-fits-all. Equipment can be incredibly subjective, which makes it difficult to just rely on general recommendations.
Plus, all parts of the home studio lead into one another, which is why it’s so difficult to do spot-fixing. “Improving one thing leaves a gap in others,” said Simon.
“I benefited a lot from being able to bounce ideas off Erik,” said Simon with a sheepish grin. “If you want to get things done quickly, then you should ask someone with expertise to help!”
Need help with your filming and setup? Contact our digital content director Erik at [email protected] today.
Read more from Click2View:
- Winners & Losers in the post-pandemic world
- Buyer personas are the way to your customers’ hearts.
- Live videos are the biggest thing right now.
- Read about what we learnt from producing our own newsletter.
Sign up to our newsletter for a weekly update on the latest content marketing news. Don’t forget to subscribe to our YouTube channel too!
Click2View is Southeast Asia’s premiere full-service independent B2B content marketing agency servicing clients like Microsoft, Google, Visa, Prudential, and the Lee Kuan Yew School of Public Policy.


